- Preparing the Site
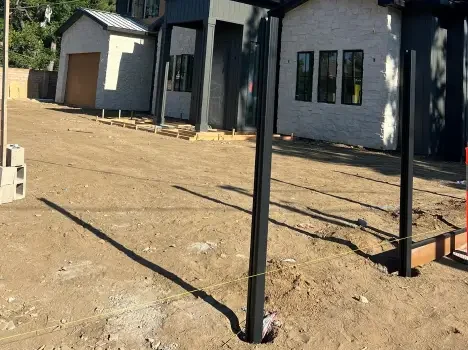
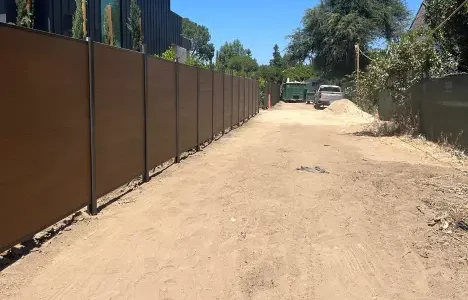
First, mark the area where the fence will be installed. Measure and stake out the desired fence line, using a string line to ensure a straight path. Mark where each post will go, spacing them based on the width of your WPC panels, typically leaving a small clearance to allow for expansion and easy panel insertion later.
- Digging Post Holes
Dig post holes approximately 12 inches in diameter and 32 inches deep to secure the posts below the frost line, which prevents ground shifting. Use quick-dry concrete to fill each hole, setting the posts to ensure they’re plumb (level) and aligned with your string line .
- Installing Aluminum Posts
Once the posts are in place, install aluminum posts with powder-coated finishes, ensuring they are properly leveled. Use brackets to fix the posts, and let the concrete cure fully before proceeding to the next step. Align posts accurately to maintain a smooth line for the fence installation .
- Adding Bottom Rails
Attach the bottom rail between posts as a foundation for the panels. This rail should be leveled precisely to prevent any warping or misalignment when panels are inserted. Fasten the bottom rail using screws to secure it to each post, creating a stable frame for the fence panels.
- Inserting WPC Panels
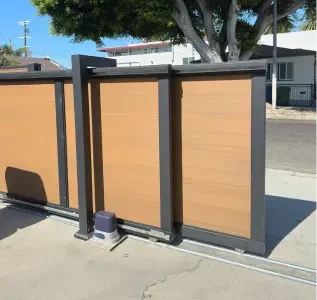
Starting from the bottom, slide WPC panels into the post channels. Make sure each panel’s groove locks securely into the previous panel’s tongue. Continue adding panels one by one until reaching the desired height. Every third panel can have an additional stabilizing strip inserted to enhance fence durability against impacts or high winds .
- Installing the Top Rail and Caps
To complete the installation, add the top rail by sliding it over the panels and securing it to the posts. Finally, place post caps on each post, securing them with adhesive or screws as needed. The caps not only improve the fence’s appearance but also protect the posts from water and debris, prolonging their lifespan.
For additional guidance, consult specific installation guides provided by SMARTWOOD, as certain models may have unique features.
Choose WPC fencing for a beautiful, durable, and maintenance-free solution that adds lasting value to your home.


